I’ve been working on a commission for the last few weeks which has been delivered but not yet installed. I gave a talk over my Summer School course at West Dean College on the making of the two glass panels for this commission so I have photographs of the making process. These panels will be installed into the porch of a house which is currently being built in West Sussex, and they are leaded panels but using thick textured kiln formed glass which will really hold and bounce the light around the patterned surfaces. My clients showed me images of traditional glass windows that they liked so I had an idea of their taste, and they were keen that the panels would include references to the local river, the sandstone in the village houses, local wildlife and the clients’ connection with cats and horses.
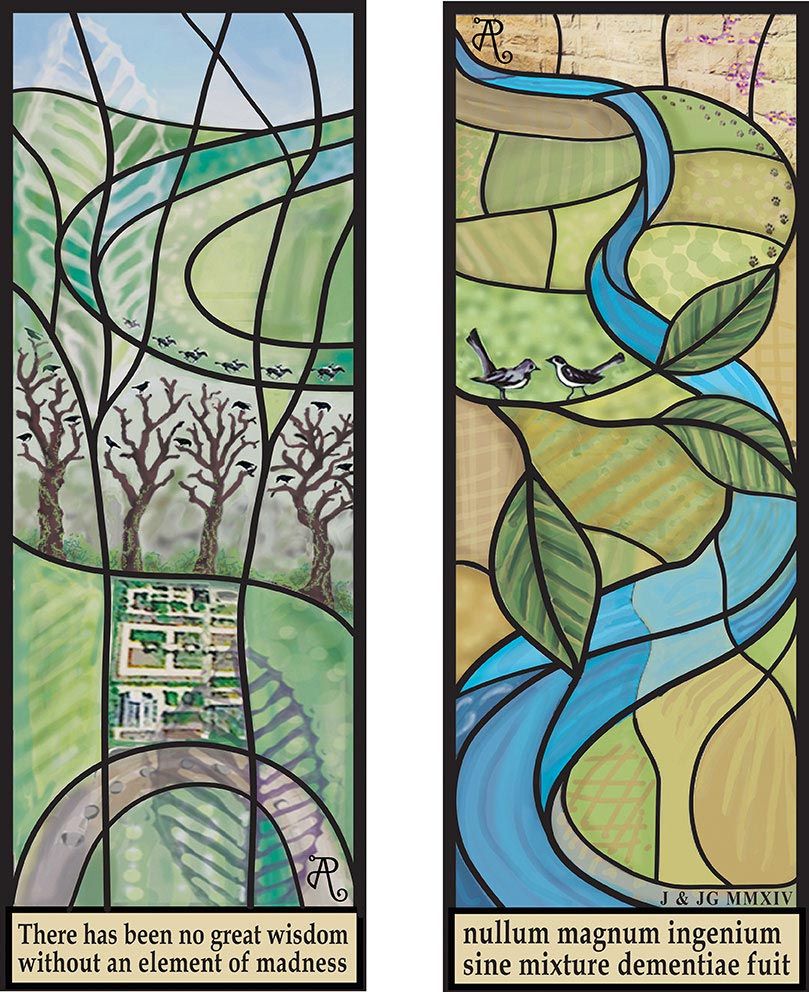
After a few weeks of design development they agreed on my designs (above) which included an inscription in English and Latin, their initials and my monogram. The ‘Land’ panel on the left included a depiction of the row of sweet chestnuts behind their house and their kitchen garden as seen from above as well as the racing horses and a horseshoe to imbue the new house with luck. The ‘Water’ panel on the right includes the river flowing past the sandstone walls of the village, a pair of wagtails, and a hidden cat watching the birds, as well as its paw prints following the line of the wall.


Samples were sent (above left) to show the colours and level of texture of each piece in the designs. Once approved, the glass was cut to a full size cartoon. Every part of the panel was made with two layers of glass and its textural qualities were achieved in the kiln using a variety of techniques. Sometimes the texture was on the back surface, but most was on the front where it would be able to be touched once in situ.
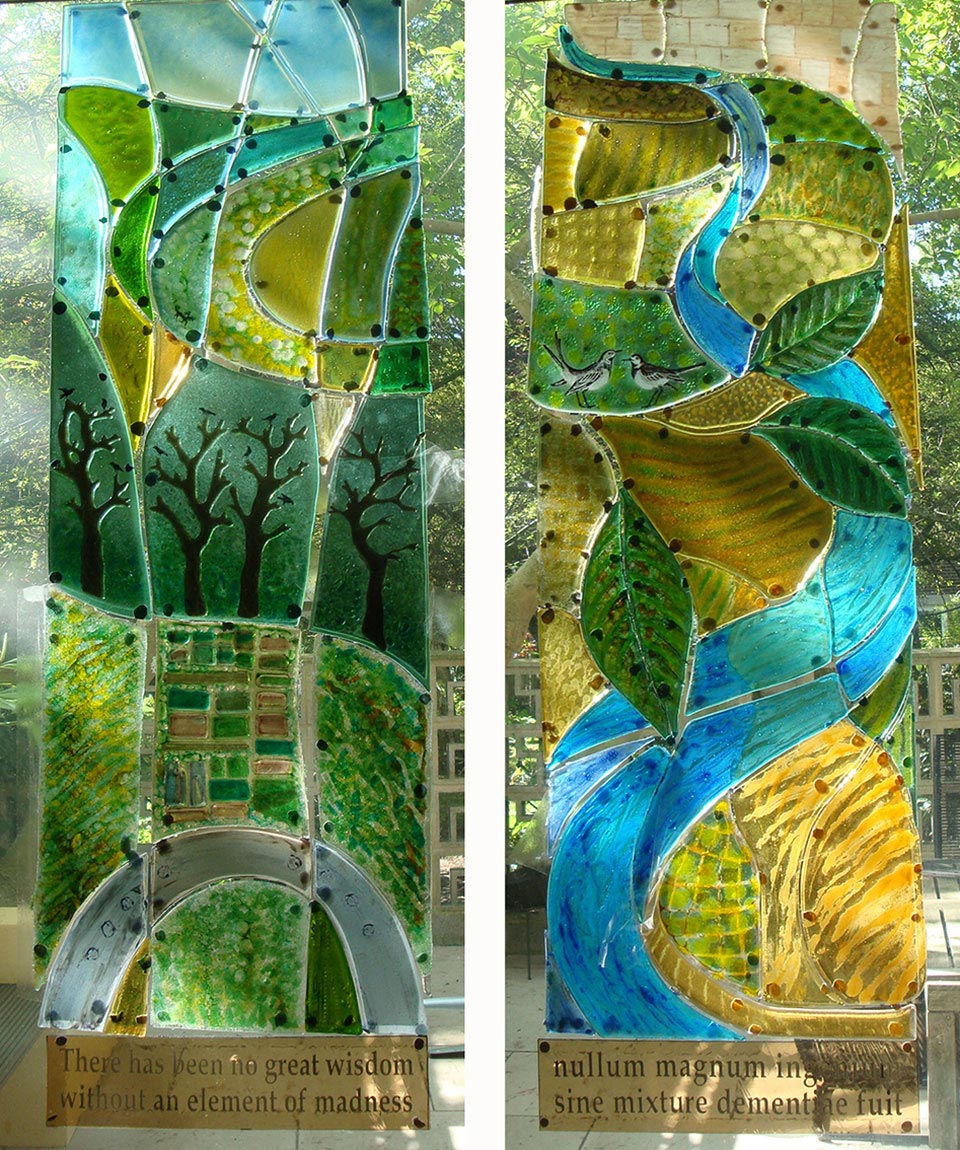
Once each piece had been formed in the kiln to get the right colour and textural qualities, I used blue tac to stick them up against my studio windows to get an overall impression with light coming through. Part of the glass artist’s challenge is to envision the whole image as it will be seen in situ. The light can change a composition dramatically with colours or textures reacting in various ways to the differing quality of light coming through the glass. However at this stage the clients were happy and I could see that although some pieces needed tweaking, the overall effect was good.


So the final stage was adding detail either with fusing, or with sandblasting (above left) or screenprinting (above right) and firing at a lower temperature to fix these details. Once all the glass had gone through the kiln for the final time, I used a grinder to get the exact fit between the pieces. This wouldn’t normally be needed with traditional painted glass, but when working with kiln formed glass which is 6mm thick and can get misshapen in the kiln, there is often some fine fitting work to be done which can take a while. Finally the glass is all leaded together using traditional tools, and the joints soldered so that the whole puzzle one has just created holds together. Cement is applied in all the gaps to give the panel strength and durability and then comes the unenviable task of polishing and cleaning the lead and glass…. not an easy job when the glass is pitted and textured. However it is always worth spending a bit of time on the final clean to really get it all pristine and to maximise the contrasts between the coloured glass and the dark lead lines.
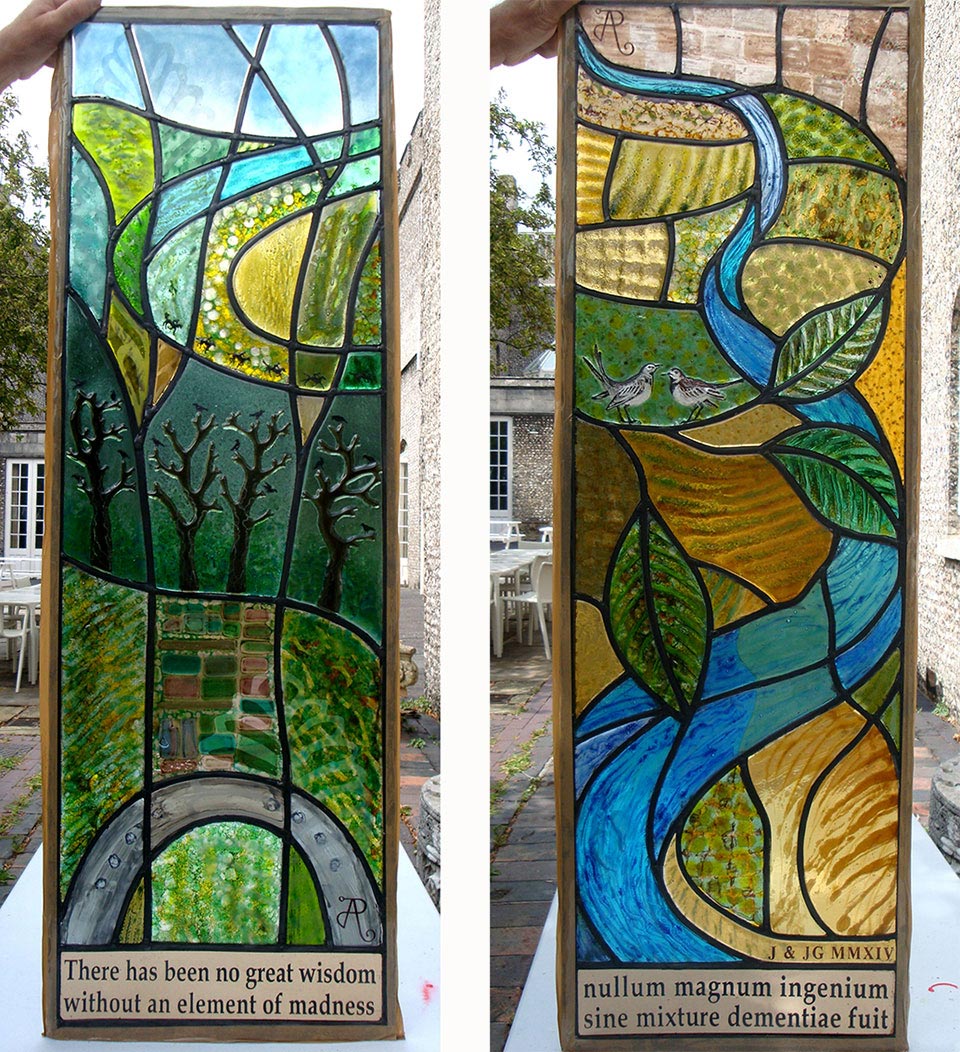
The final pieces were taped up against a background of laminated glass so that I could get a quick snap of them before they were delivered to the site. Proper photos will be taken once the panels are installed.